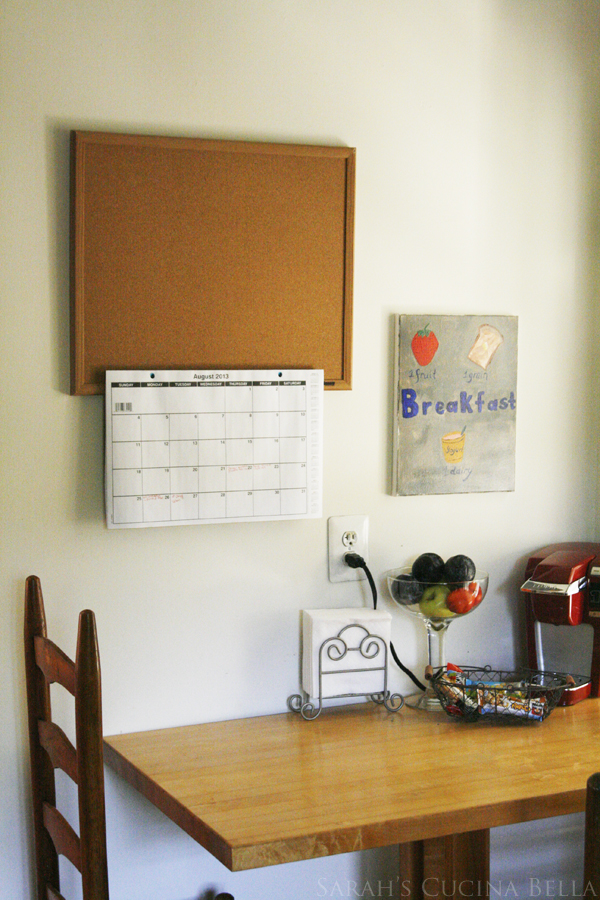
With the kids returning to school in just a few days (we're down to one-handed counting, people!), I am running around trying to get our house totally ready for back to school. Among my to-dos? To get our breakfast nook ready for the morning madness. The kids will be tasked with making their own breakfasts this year and I want to be sure that they make smart choices every morning. So I created a sign to help guide their decisions.
You know those cute signs they sell at stores like HomeGoods and Target? I love them. Every time I am in the stores, I pause to check them out. But I never actually buy any. While I appreciate the sayings and wordings on them, I am always caught on the mass production factor. I am just not sure I want to buy a sign that 10,000 other people are also purchasing. Besides, none of them are ever quite right. Especially in this case.
Since I needed something very specific, I picked up a canvas and some art supplies to make my own.

For this project, you need:
- a canvas
- a surface to mix and squeeze paints onto -- I used a coated disposable plate
- brushes of various sizes
- a cup with water (for washing the brushes)
- acrylic paints
- high gloss finishing spray (I used Mod Podge spray)
You may also want to cover the surface you are working on to prevent paint spillage. Since I was working at a backyard table that needs to be repainted, I didn't worry about that.
Start by sketching your drawing on paper. It took me a few tries to decide exactly what I wanted. Then draw it on your canvas in pencil. Now, choose your colors. I used a few colors to create a grey background color. It has some variations in the tone, which I did on purpose. While painting the background, I painted over the words, but tried to paint as best I could around where the foods and "breakfast" lettering would go. Keeping the basic shapes unpainted helped me create the exact look I was going for.
Once the background was dry, I started in on the foods and the words. For the foods, it took a few coats to get the colors I wanted, and to add the necessary details. This is a project that can be completed in about an hour, but you do have to be patient with it and take your time.
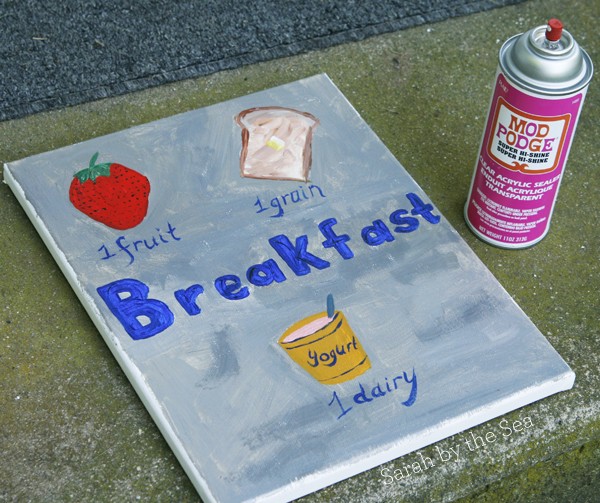
Once the sign was painted as I wanted it, I used a high gloss finishing spray to seal it. Mod Podge Super Hi-Shine is my favorite for jobs like this (no, they didn't ask me to say it -- I just use it a lot).

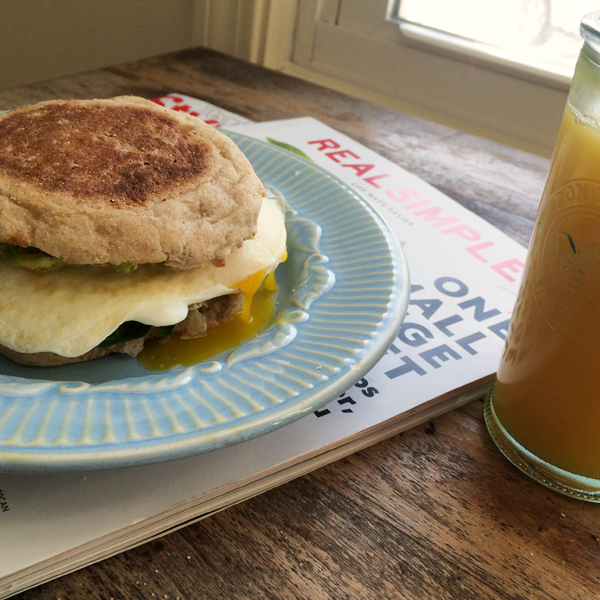
The best part? Once I hung it in the breakfast nook (which wasn't quite done in this picture), the kids immediately started referring to it for breakfasts. I love seeing them purposefully choose a well-balanced meal.
One Comment