One of the most basic steps of cooking is measuring ingredients for recipes. Here's how to do it right every time.
Did you know that before Fannie Farmer wrote The Boston Cookery School Cookbook (now known as The Fannie Farmer Cookbook, a title it was given in a later edition), ingredients for written recipes seldom came with actual measurements? It was more like to find instructions that encouraged the reader to add a handful or smidge than it was to find an actual amount. Moreover, there were no oven temperatures because people had cooked over fires until the advent of the gas-powered stove.
All of this is to say that cooking was considered intuitive in the 19th century and earlier. But with the dawn of the 20th century, things changed. People were living in a time of development — households changing, norms changing and even the instruments used to cook changing. By the 1960s, when Julia Child's Mastering of the Art of French Cooking and her show The French Chef debuted, households were often "servantless" as her subhead suggests.
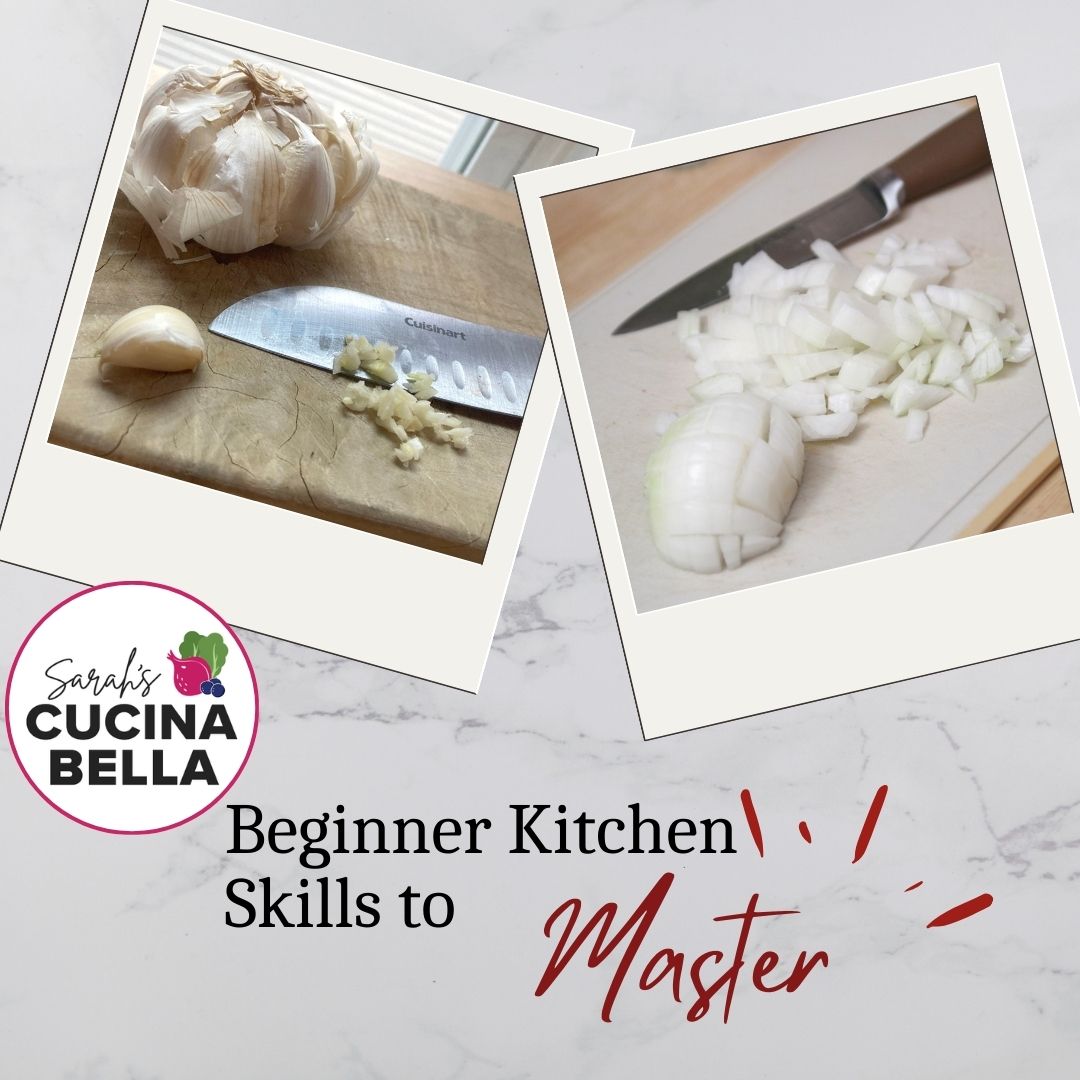
Fast forward to 2024. Home economics and the teaching of cookery has become far less common. And that means that basics like measuring ingredients, chopping onions and mincing garlic aren't ingrained in cooks the way the knowledge was in the early- to mid-20th century.
But don't worry, I am here to help with common measurements (and abbreviations) as well as tips to get the precise measurements that recipes ask for.
Cooking is as much an art as it is a science, so once you understand measurements you can also start to tweak them to your desires. Ready to create your own culinary masterpieces?
Here's a comprehensive guide on how to measure ingredients effectively:
- Tablespoons (tbsp):
- Commonly used for measuring larger quantities of liquid or dry ingredients.
- Use a dedicated tablespoon measuring tool, which has the precise amount required (cutlery is less accurate).
- Fill the spoon to the brim and level it off with the back of a knife or your finger for an accurate measurement.
- Teaspoons (tsp):
- Suitable for smaller amounts of spices, extracts or liquids.
- Similar to tablespoons, use a dedicated teaspoon measuring tool.
- Again, fill the spoon to the top and level it off for precision.
- Cups:
- A versatile unit for measuring both dry and liquid ingredients.
- Use a measuring cup specifically designed for dry or liquid ingredients, as they may have different markings. I am a particular fan of Oxo's line of measuring cups with an angled line that you can see from above to ensure accuracy.
- To measure dry ingredients like flour, spoon the ingredient into the cup and level it off (if possible -- this isn't possible in all measuring cups). Avoid tapping the cup when measuring flour as it will settle and cause over-measuring. For liquids, fill the cup to the desired mark.
- Ounces (oz):
- Often used in baking and for liquid ingredients.
- Utilize a liquid measuring cup for liquids and a kitchen scale for dry ingredients.
- For liquids, simply fill the measuring cup to the desired ounce mark. For dry ingredients, place the container on the scale, zero it out and add the ingredient until you reach the required weight.
- Grams (g):
- The metric equivalent of ounces, commonly used in international recipes.
- Use a kitchen scale for precise measurements.
- Place the container on the scale, zero it out and add the ingredient until you achieve the desired weight.
Got questions? Ask below and I will aim to assist you in mastering this essential basic step of cooking.