This shop has been compensated by Collective Bias, Inc. and its advertiser. All opinions are mine alone. #TeaProudly, #ConstantComment, #CollectiveBias
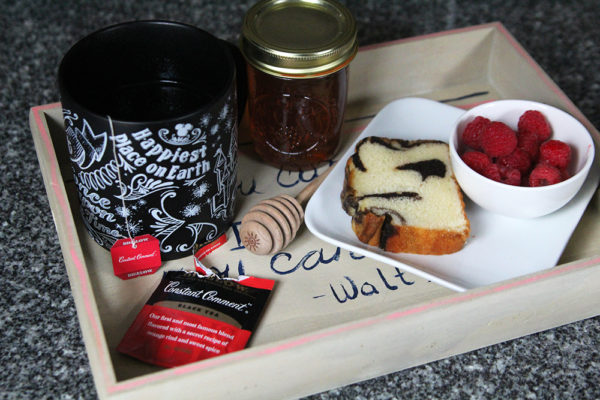
Do you know busy? Who doesn't? That's why I take little opportunities to unwind, like enjoying a cup of tea and a snack on a pretty DIY tea tray.
Two busy, involved kids in middle school. A busy full-time job as an editor. A busy full-time job running this site. Plus, I teach courses at two local universities. Oh, and write books and sometimes other things. Plus, serve my kitten's every need.
Kidding on that last one. Sort of.
I love my life. I truly do.
I thrive under pressure and enjoy having a diverse array of things I do. But that also means my life is nonstop. And even in the most nonstop life, you need a little breather sometimes.
Tea. Tea time can be that breather for me. Tea forces me to slow down. To sip. To pause. It's helps me manage my stress level.
Interested in trying out the Bigelow Tea offerings? Hover over the photo to check it out on Walmart.com.
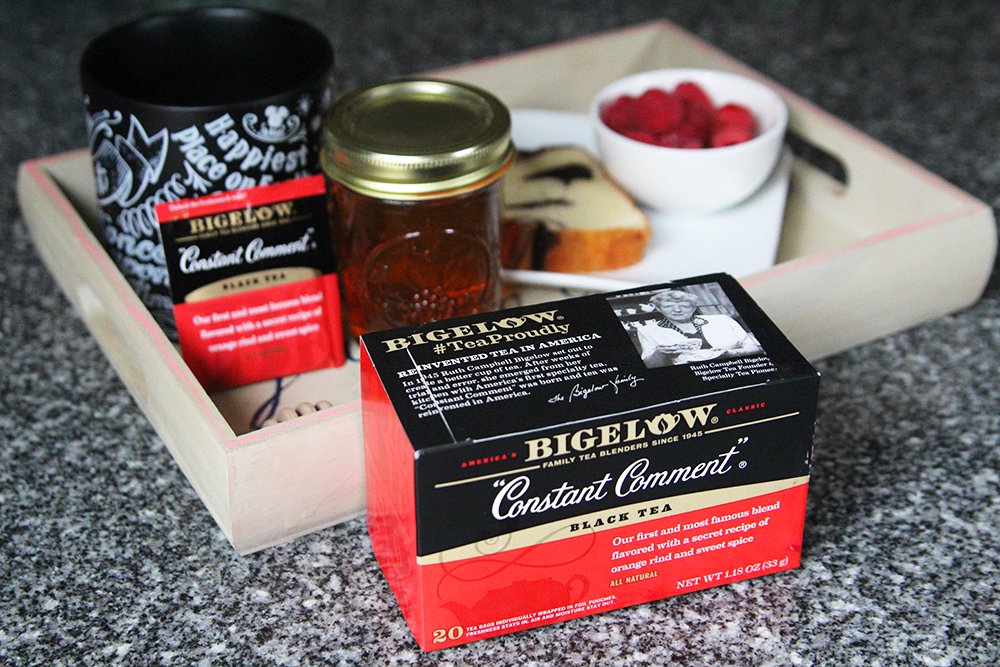
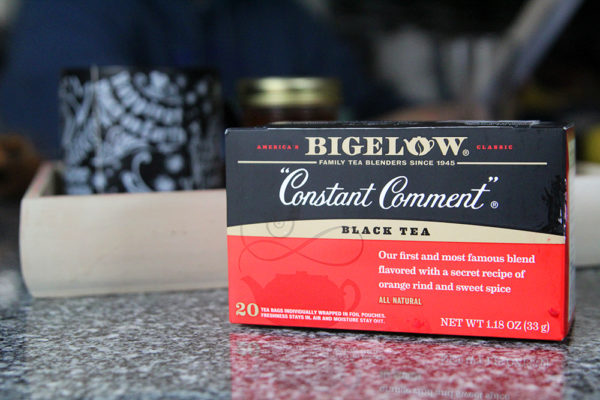
And Bigelow "Constant Comment" Tea, an apropos tea for a journalist, is the perfect thing to sip. What is Bigelow Tea’s “Constant Comment”? It is a tea that broke the rules, changed the game, and was created for those who refuse to settle.
Based on an early Colonial recipe, this black tea with orange rind and "sweet spices," according to the package, is pleasant and calming. It's also a little inspiring: This was the tea that launched the family-owned company (it's based in Connecticut and manufactures tea here in the United States!). It's lovely with a spot of honey.

It's available wherever Bigelow tea is sold, including at Walmart.
So when deadlines for my publications are bearing down and it feels like there couldn't possibly be enough hours in the day for all that needs to get done, a little tea can shift the mood. Let “Constant Comment” tea transport you out of the ordinary, into places of unexpected discovery.

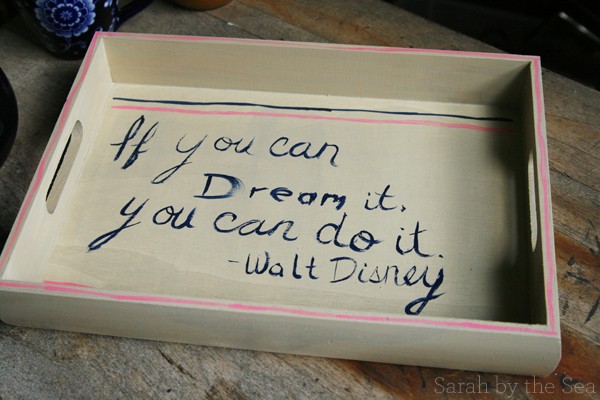
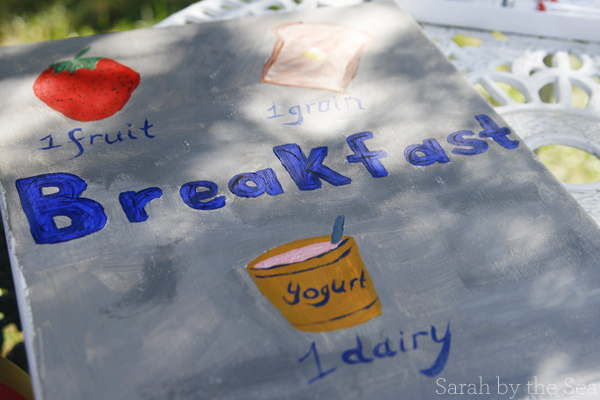
And what better way to enjoy tea than with a special tray just for tea time? This tutorial for a DIY tea tray is pretty adaptable — choose the right size and design for your tastes.
I like to use a slightly larger tray when I am having tea with breakfast or lunch while working. A smaller tea tray is great for an afternoon pick me up. Choose the one that works best for you.
Want to make your own? Here are a few tips to get you going ...
How to Create a Fabulous DIY Tea Tray
- Plan Ahead. Nothing derails a project more than being all gungho and realizing that you forgot to buy paint brushes. Or you are out of paint. Or just plain winging it. Making a plan sets the whole project in motion in the right direction.
- Color, Color, Color. Look, I know you are wild for the 27 colors in your acrylic paint collection, but seriously? You need to choose just a few to work with on each project. More importantly, make sure you match them up so that everything you do is deliberate. Also, limit how many you use. Unless you are looking to create something worthy of Rainbow Brite's serving piece cabinet, you'll want to limit your color choices to 2-3.
- Take Your Time. What's the rush? As the old story goes, slow and steady win the race. So, work carefully and slowly and make every paint stroke count.
- Keep it Simple. Believe me, I know how tempting it is to play with the pearlized, glittered, bejeweled stuff in your craft cabinet. But for pieces you can be proud of, you'll want to keep the whole project simple.
And now, the directions to make it ...

DIY Tea Tray
You'll need:
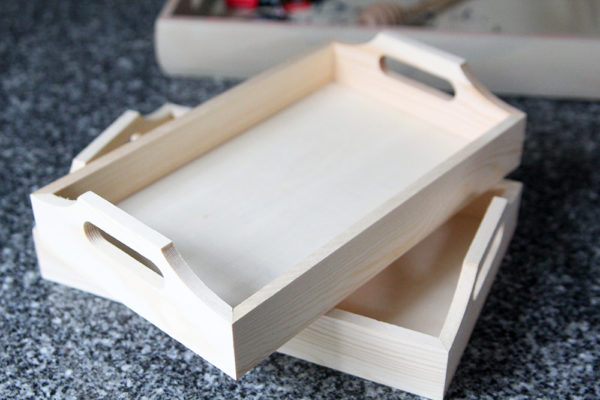
- 1 unfinished wooden tray (You can find these at craft stores in a variety of sizes and designs)
- 2-3 colors of acrylic paint
- paint brushes
- a plan for a pattern or quote (Planning ahead means a better looking tray!)
- Sealing spray such as Mod Podge Super Hi-Shine Sealer Spray
(Hint: Looking for the perfect motivational quote for you? Check out 15 Inspirational Quotes for Goal-Chasers, Dreamers and Anyone Totally Going For It for ideas)
Directions:

Set the tray on a surface that won't be ruined by painting, such as newspaper or cardboard. Working outside works too. Using the paint, first paint the tray all over with one color. You will need 2-3 coats to fully cover it.
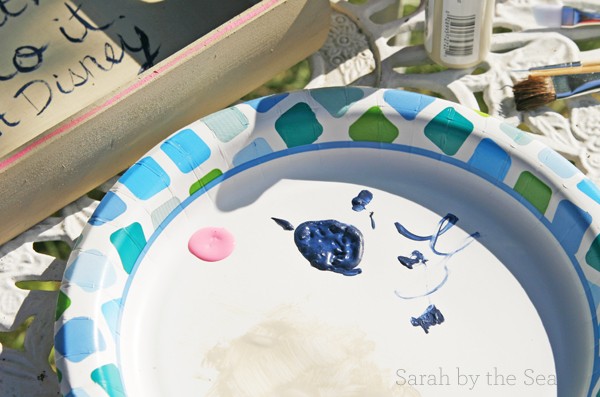
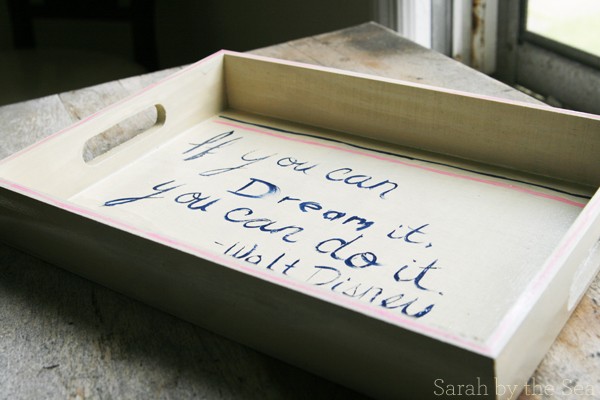
Lightly draw the design or write the quote on the tray to ensure optimum placement. Use a variety of brush sizes to achieve the design you want. For instance,
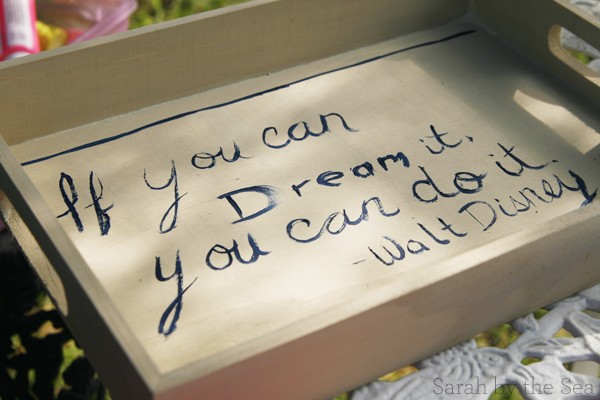
Finally, add any details, such as highlights to the design or the two line detail shown on the finished tray. Let the paint dry completely.
Coat the tray with sealing spray. Repeat for 2-3 coats, allowing to dry completely between coats. Enjoy!
And don't forget the "Constant Comment" tea! “Constant Comment”: Curiously Different. Impossible to Forget. #MyConstantComment #ImpossibleToForget


Love this quote and your tray looks so beautiful! Thanks for sharing at Project Inspired!! Pinned to our group pinboard for some extra luv! Heather
I use trays like this on sick days when i'm camped out on the couch.