Skip to content
Cooking Basics
Entertaining
New England Life
Reviews
Facebook
X
Instagram
Home
About
Recipes
Travel
Cookbooks
Contact
Expand
Work with Me
Search
Toggle Menu
Search
Home
Month: April 2006
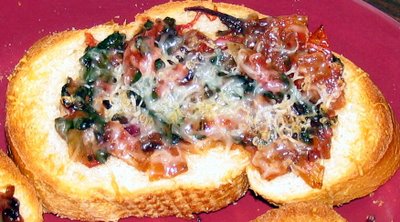
Beet Greens Bruschetta Recipe
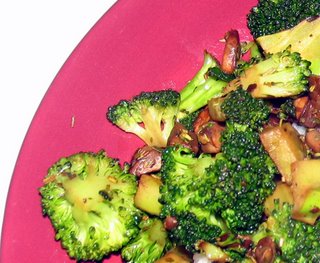
Sauteed Broccoli with Mushrooms
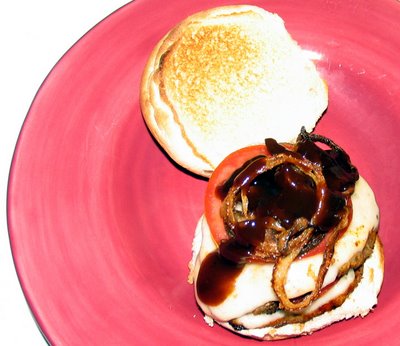
Homemade Crispy Onion Straws
Stacked Steak Asiago Sandwiches
Tropical Mango Salsa
Home
About
Recipes
Travel
Cookbooks
Contact
Toggle child menu
Expand
Work with Me
Facebook
X
Instagram
Toggle Menu Close
Search for:
Search