Skip to content
Cooking Basics
Entertaining
New England Life
Reviews
Facebook
X
Instagram
Home
About
Recipes
Travel
Cookbooks
Contact
Expand
Work with Me
Search
Toggle Menu
Search
Home
»
recipes
dessert
Carrot Cupcakes with Cream Cheese Frosting
Iced Apple Oatmeal Cookies
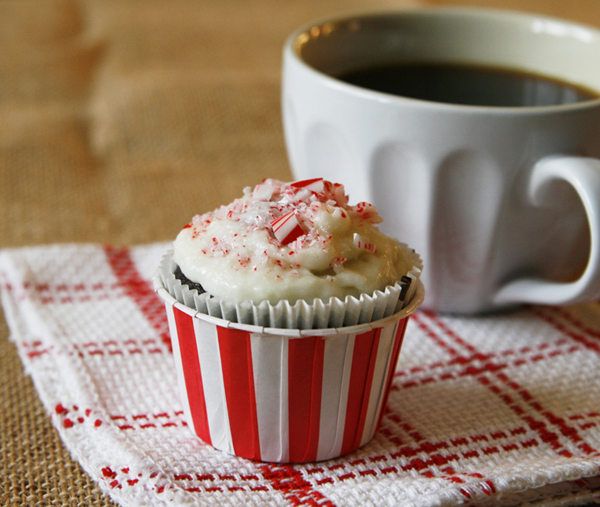
Peppermint Mocha Cupcakes Recipe
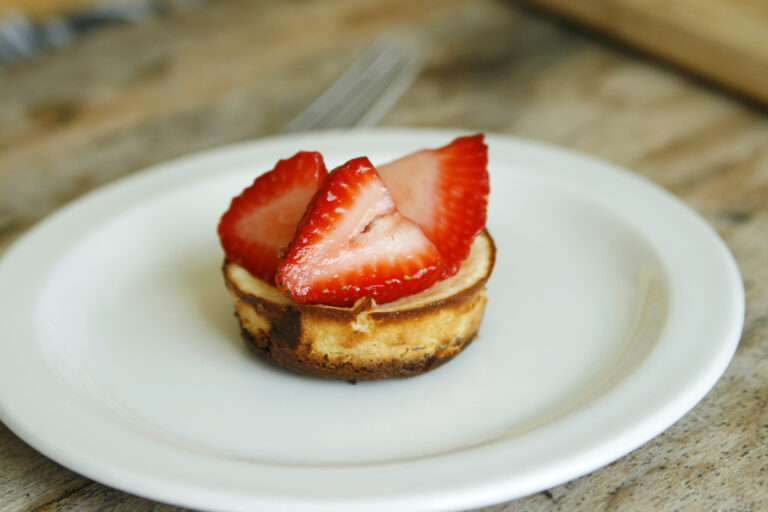
Mini Strawberry Cheesecakes Recipe
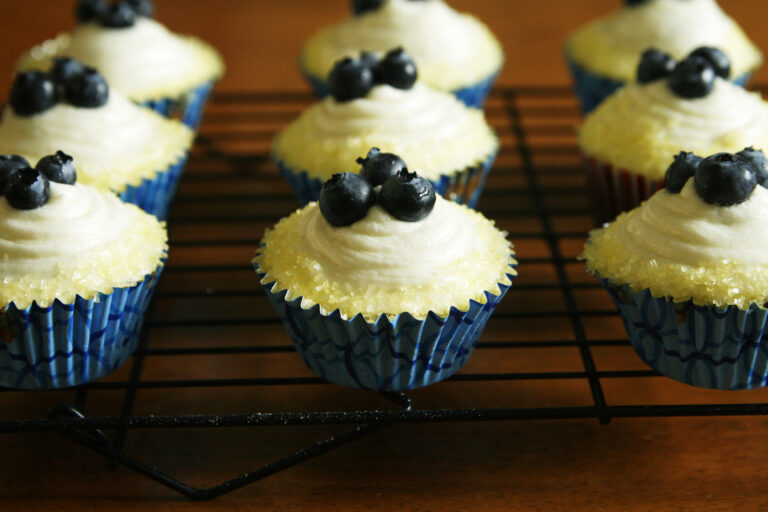
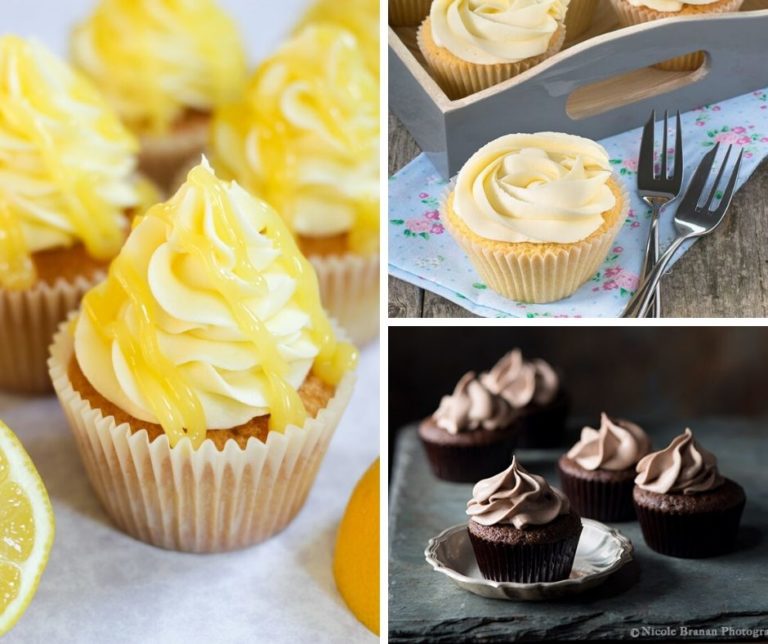
Lemon Blueberry Cupcakes Recipe
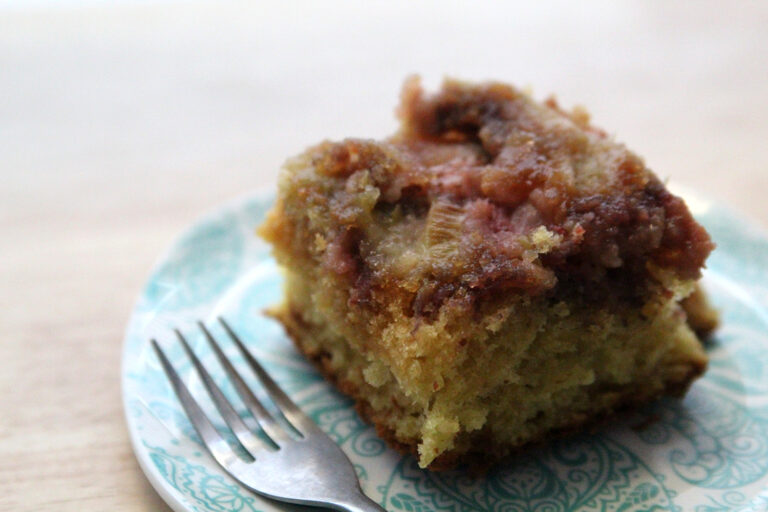
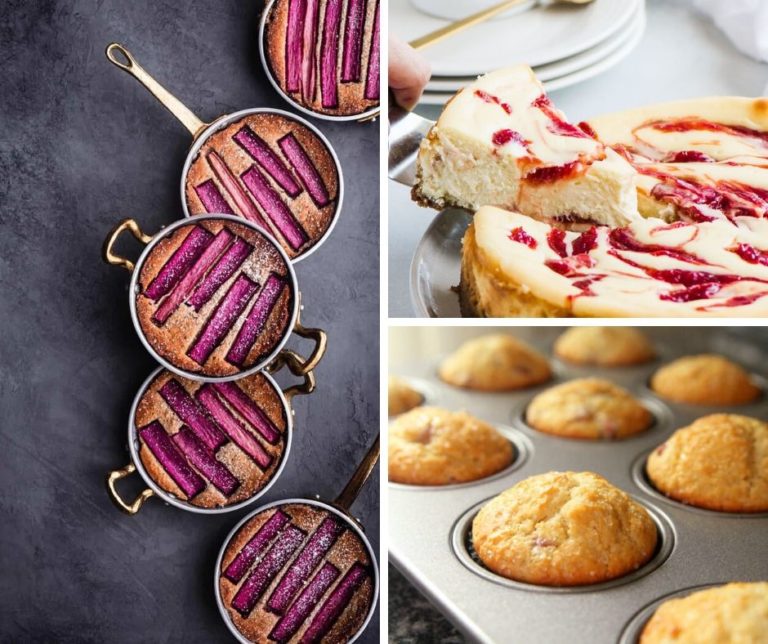
Strawberry Rhubarb Upside Down Cake For a Crowd
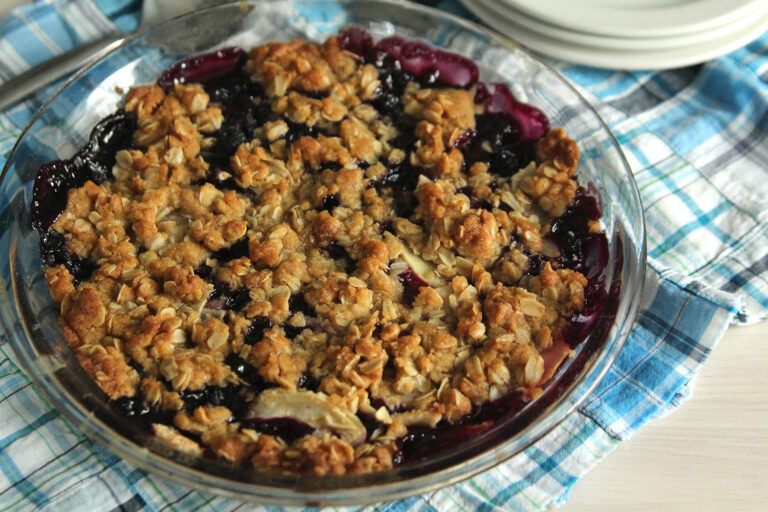
Apple Blueberry Crisp
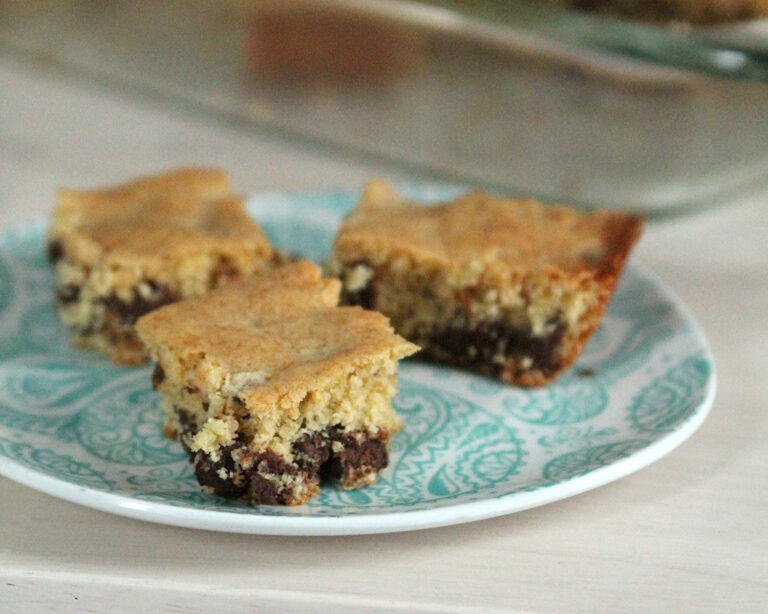
Dark Chocolate Chip Cookie Bars
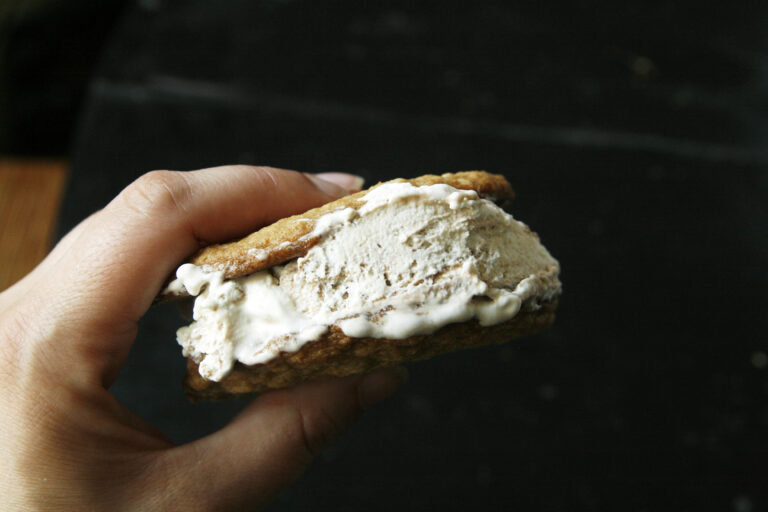
Buttery Oat Cookie Ice Cream Sandwich Recipe
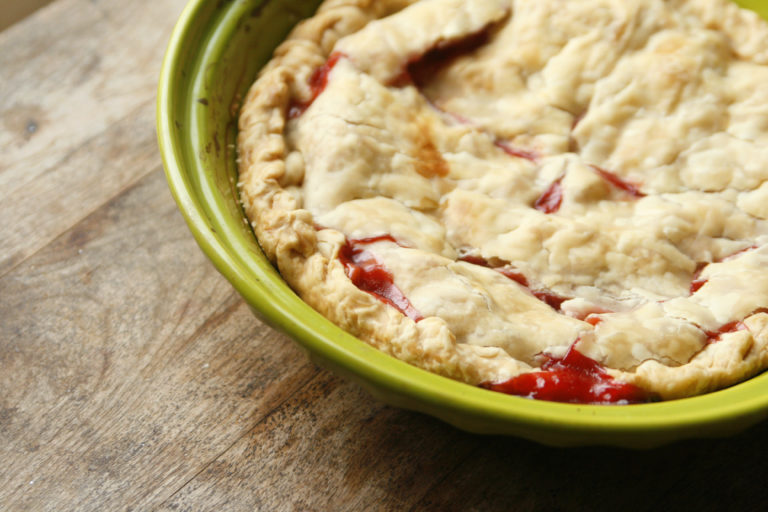
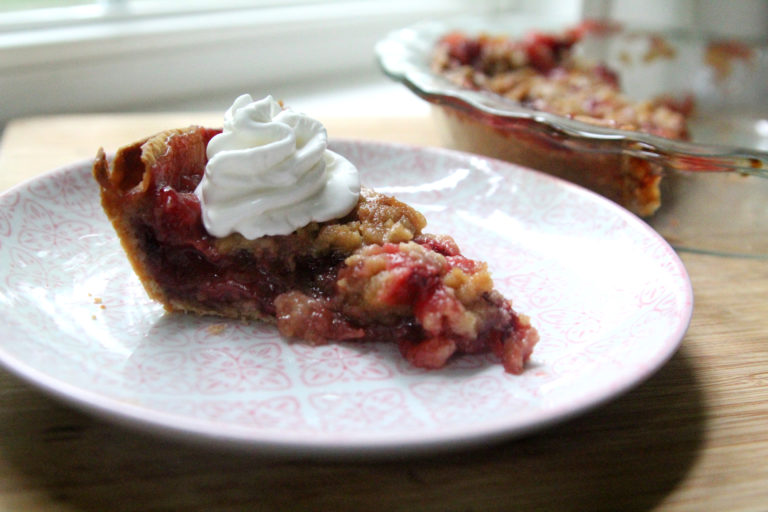
Strawberry Rhubarb Pie Recipe
Triple Chocolate Chocolate Cookies
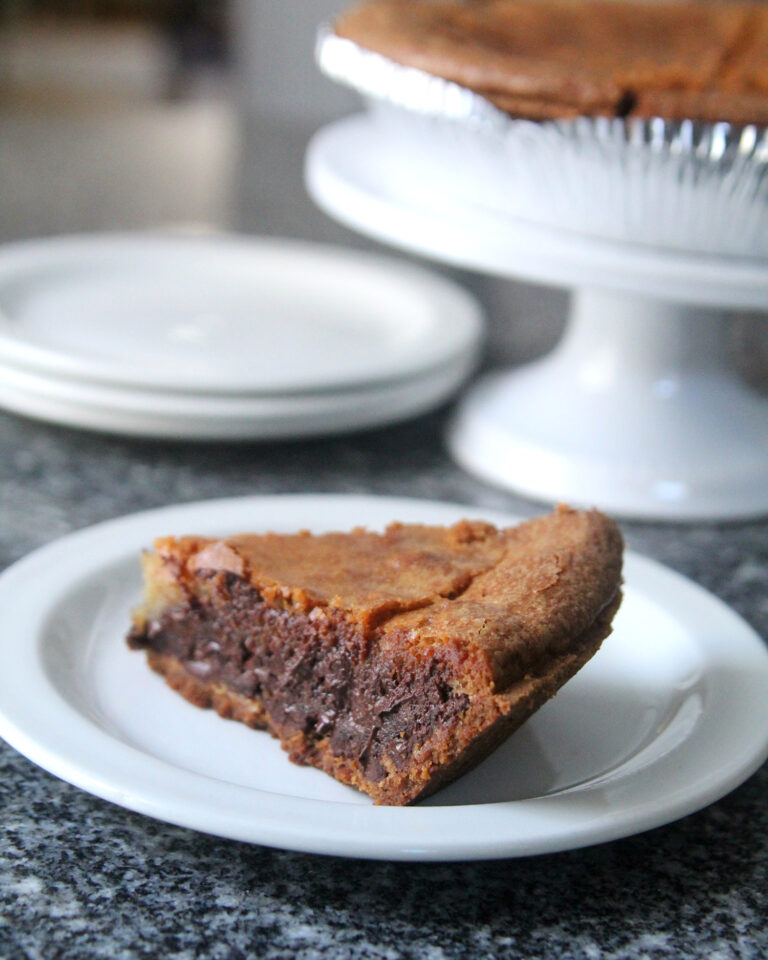
Gooey Chocolate Chip Pie Recipe
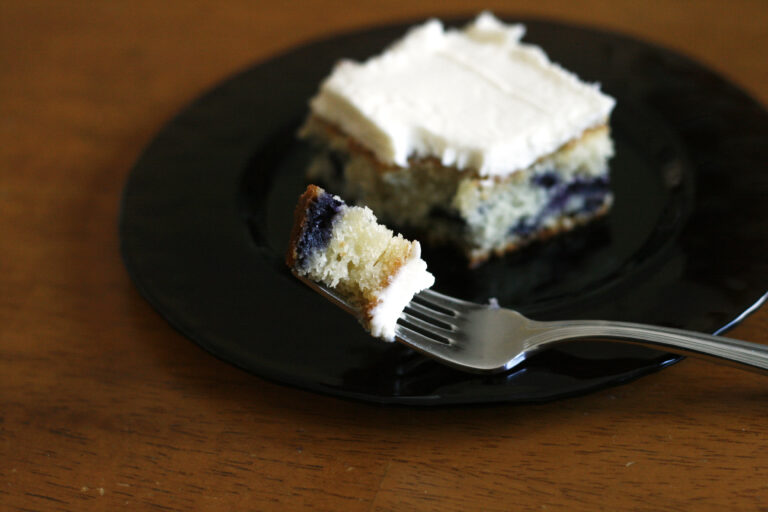
Blueberry Cake with Fluffy Vanilla Frosting
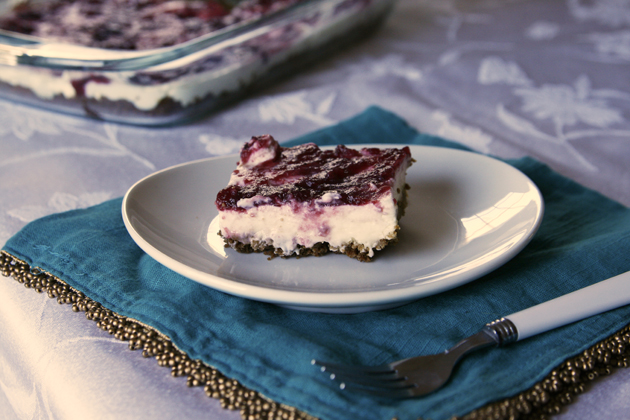
Easy Cranberry Swirl Cheesecake Bars Recipe
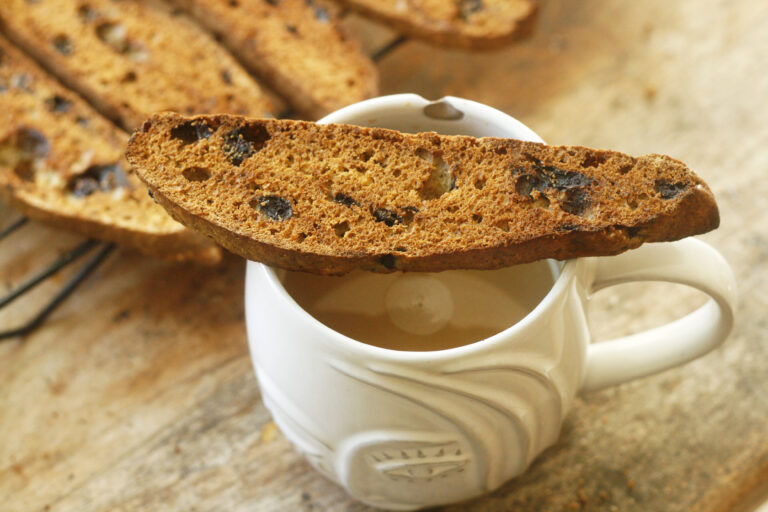
Wild Blueberry Biscotti Recipe
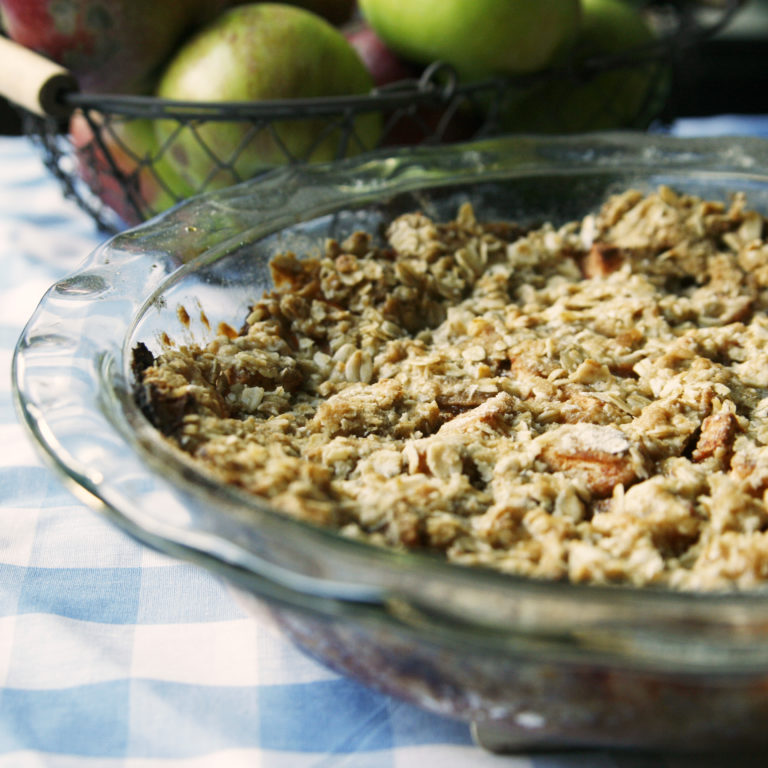
Buttery Apple Crumble Recipe
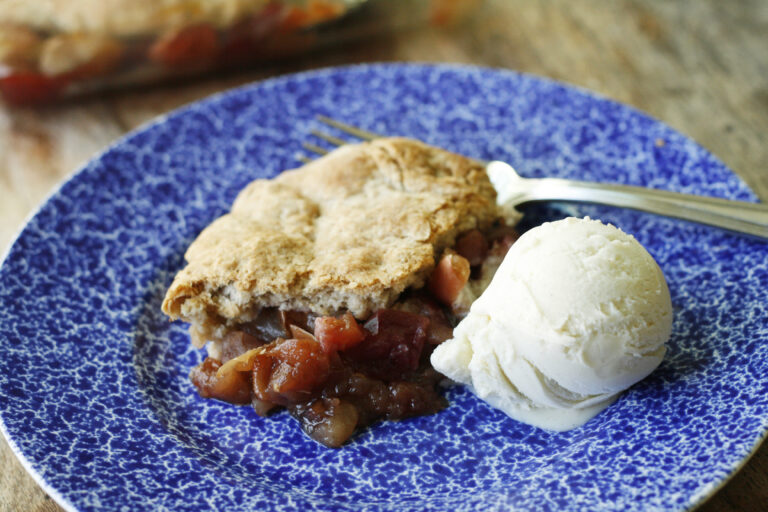
Homemade Apple Cobbler Recipe
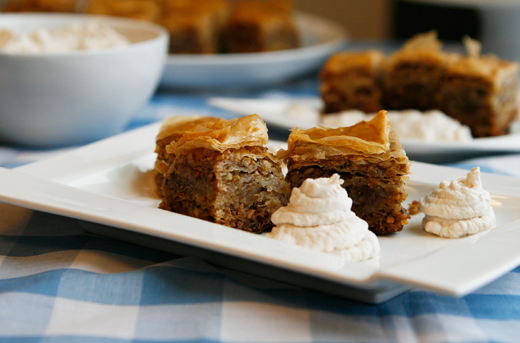
Pistachio Walnut Honey Baklava with Cinnamon Whipped Cream
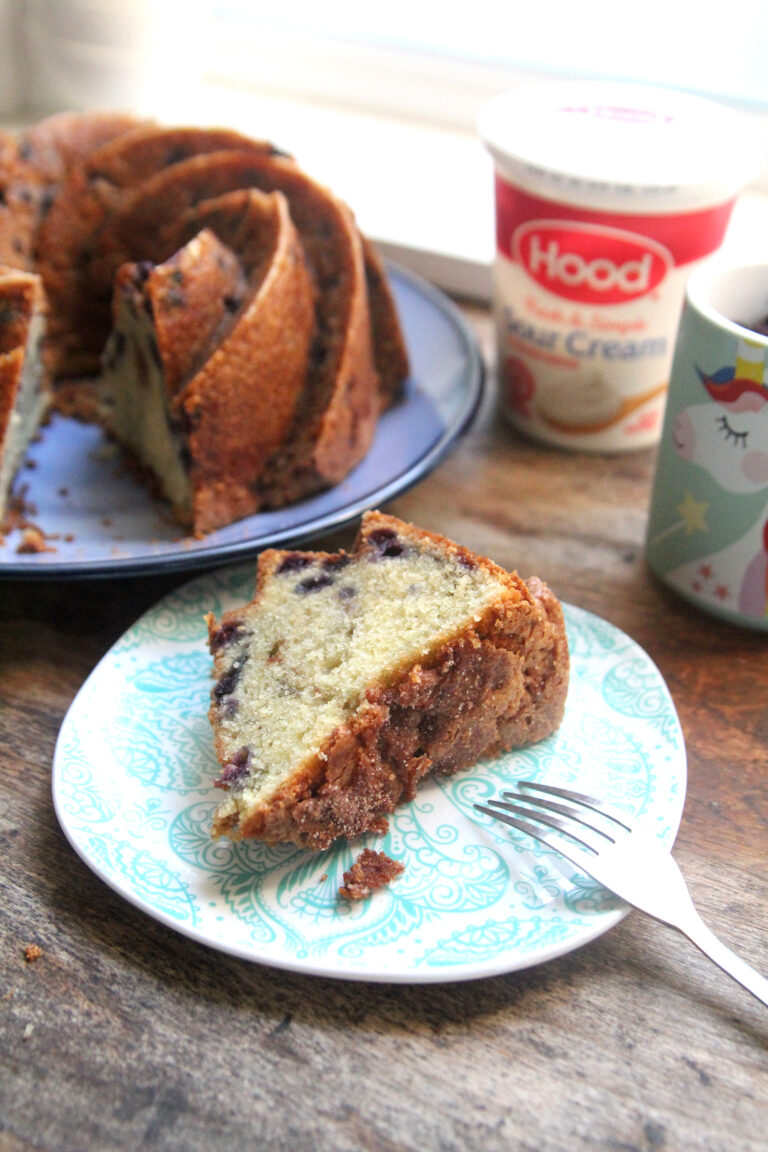
Wild Blueberry Pound Cake
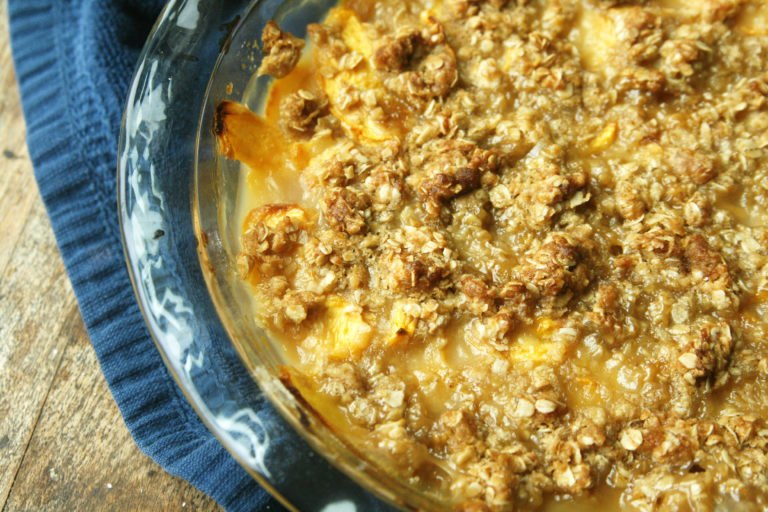
Peach Crisp Recipe
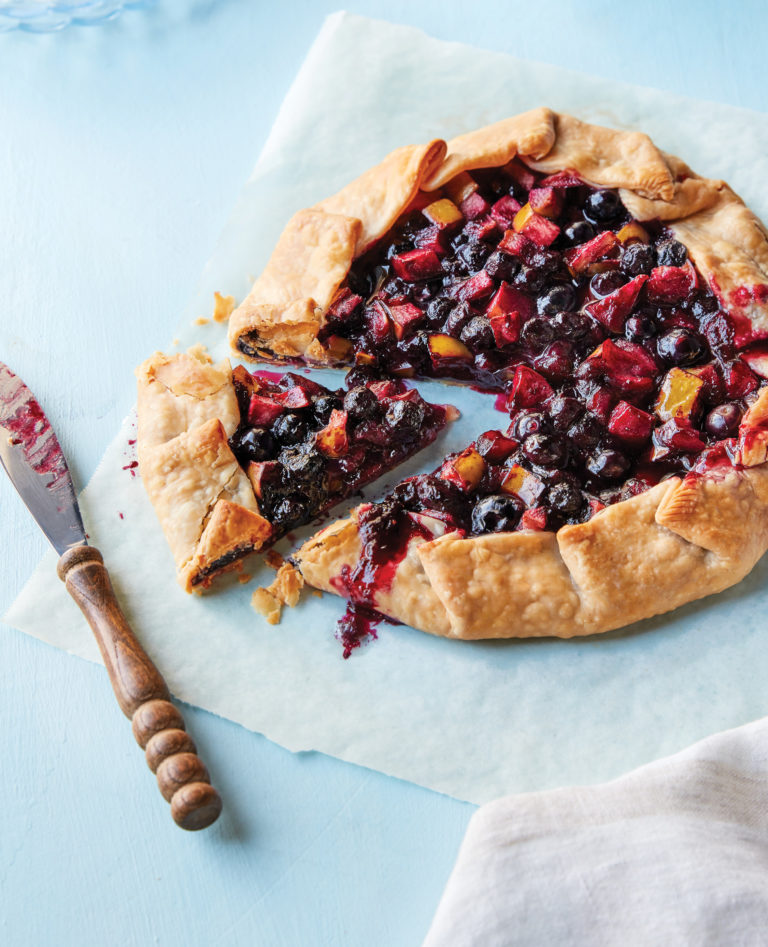
Rustic Blueberry Apple Pie Recipe
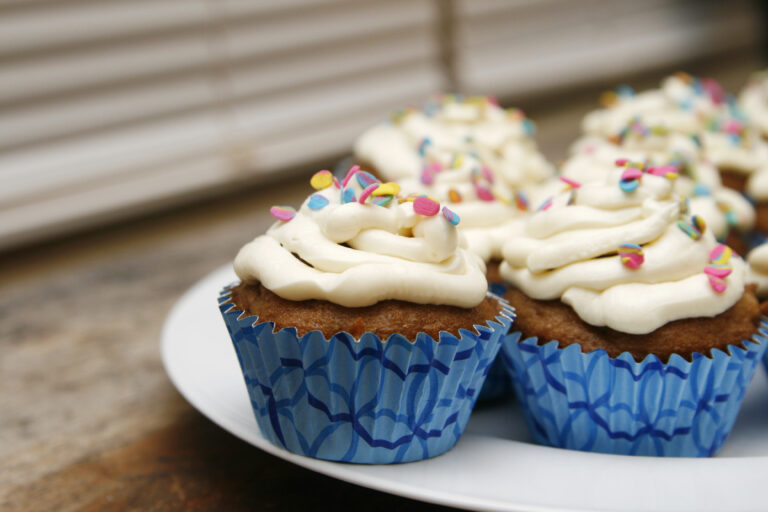
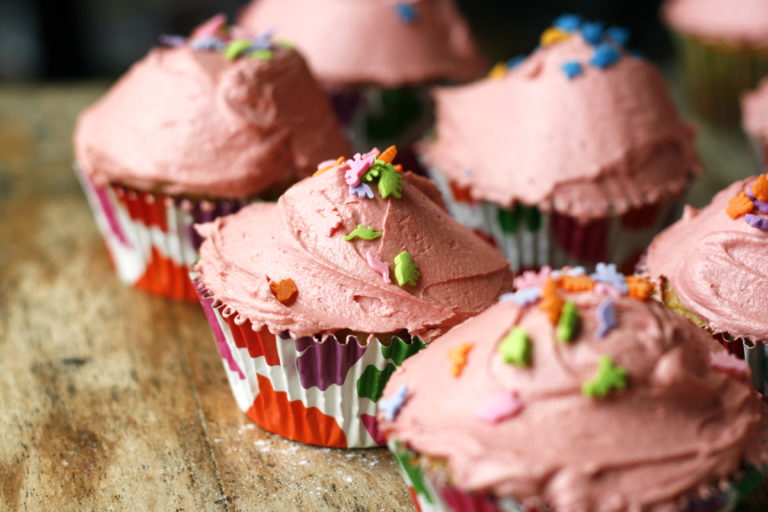
Easy Confetti Cupcakes with Strawberry Frosting Recipe
33 Ways to Cook with Rhubarb This Season
Strawberry-Rhubarb Crumble Pie
20 Easy Cupcake Recipes
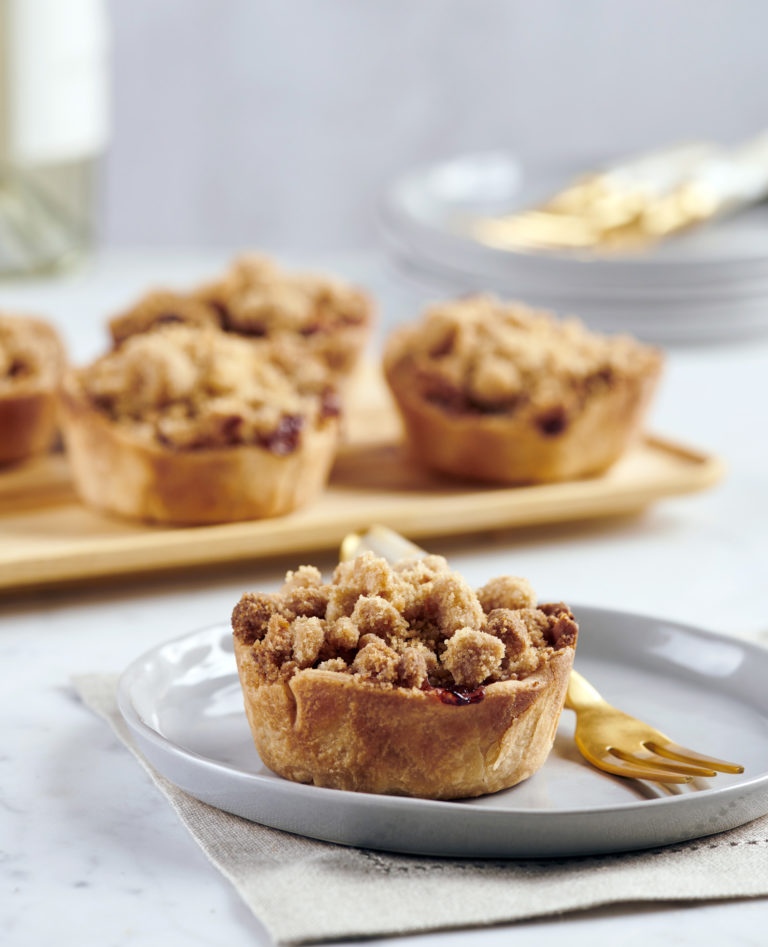
Mini Apple Pies with Crumb Topping
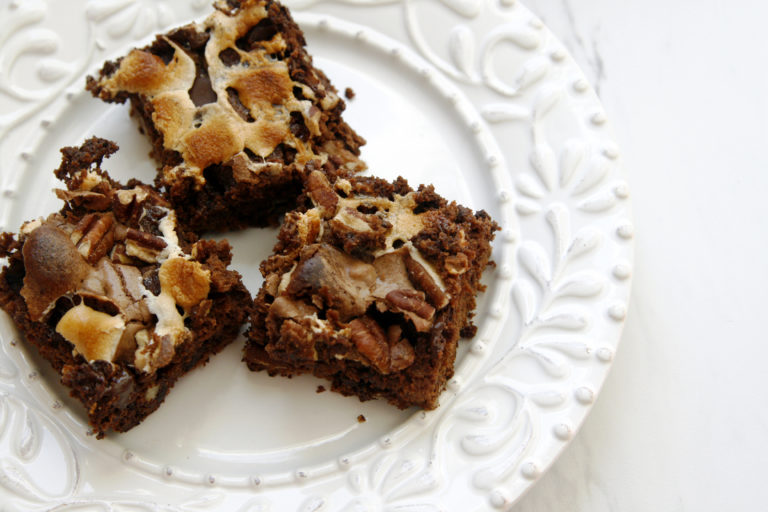
Rocky Road Brownies Recipe
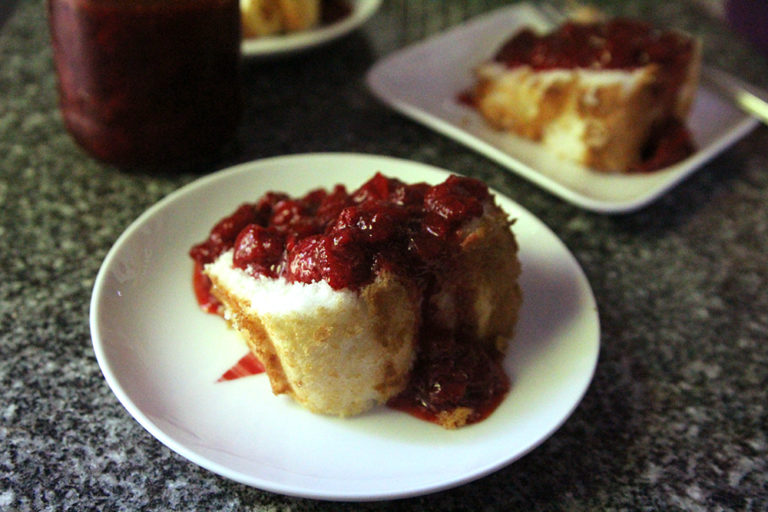
Homemade Strawberry Sauce
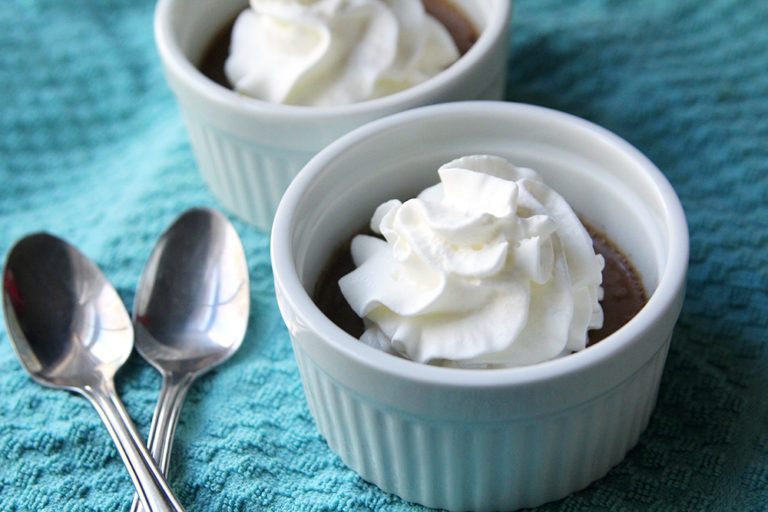
Mexican Chocolate Pots de Creme
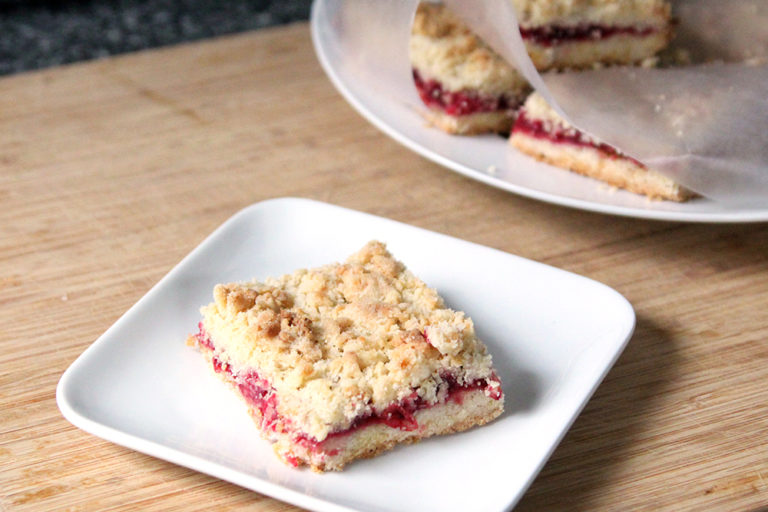
Cranberry Crumb Bars
Chocolate Peanut Butter Pretzel Bark
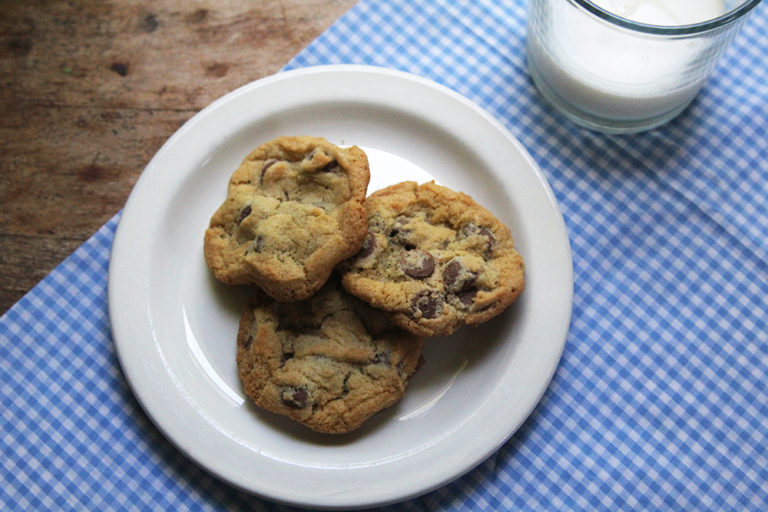
The Most Perfect Chocolate Chip Cookies Ever
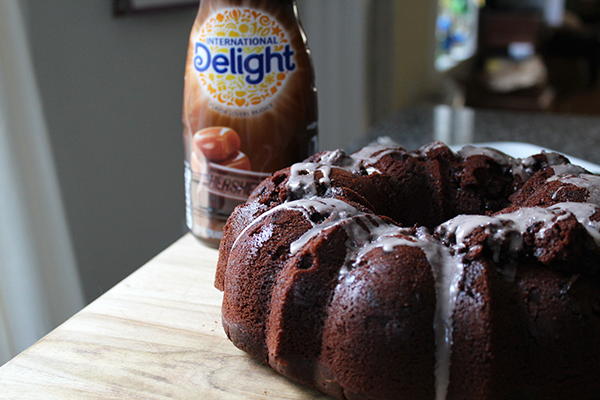
Double Chocolate Bundt Cake with Chocolate Caramel Glaze
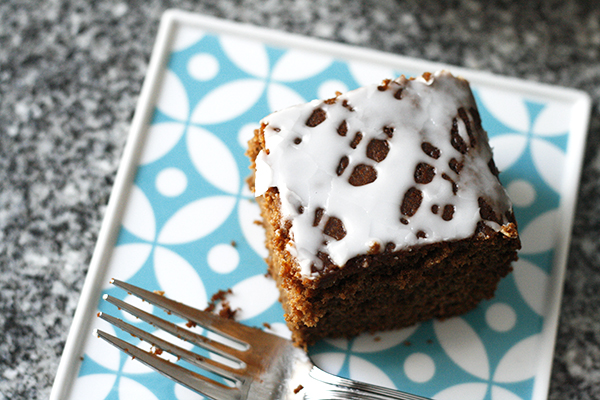
Iced Gingerbread Cake
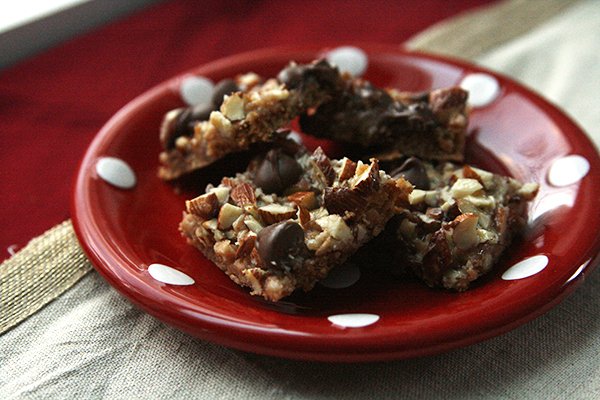
Salted Toffee Chocolate Squares Recipe
Tiered Confetti Cake
Banana Cinnamon Cupcakes with Creamy Vanilla Frosting
Carrot Mini Cupcakes with Dreamy Cream Cheese Frosting
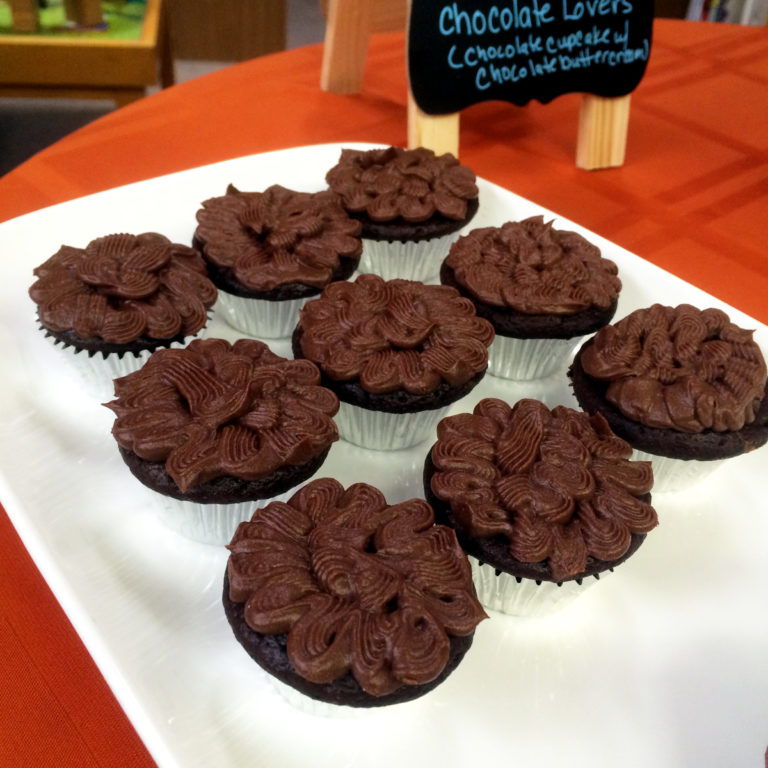
Chocolate Lovers Mini Cupcakes
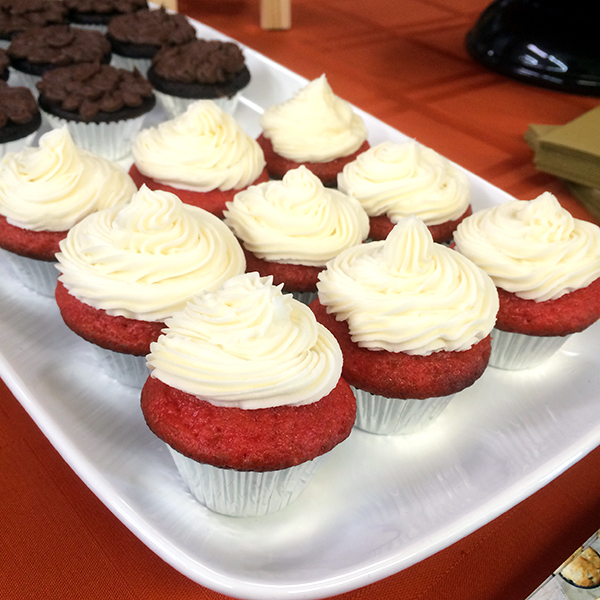
Strawberries and Cream Mini Cupcakes
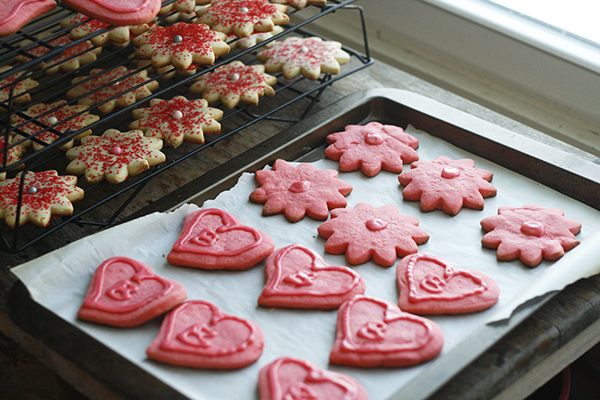
Cut-Out Strawberry Sugar Cookies
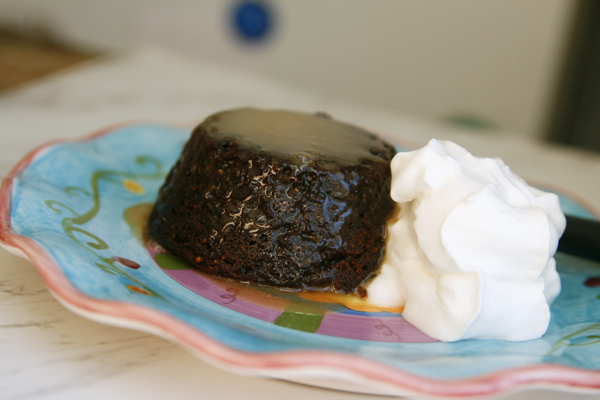
Sticky Toffee Pudding
Page navigation
1
2
3
4
Next Page
Next
Home
About
Recipes
Travel
Cookbooks
Contact
Toggle child menu
Expand
Work with Me
Facebook
X
Instagram
Toggle Menu Close
Search for:
Search